Here you go, folks! A healthy, crunchy, spicy (if you want) snack!! I don't know bout y'all but I feel so accomplished making my own snacks, especially when they are healthy. This one will take you ~40 mins. If you try this, tell me your spice combos, I'm dying to try new ones!
Time: 40 mins
Ingredients:
1 can chickpeas
1.5 tablespoons olive oil
ground cayenne pepper to taste
crushed red pepper to taste
salt to taste
Recipe:
Strain & rinse the canned chickpeas. You can boil them with 2 tablespoons baking soda before baking them, to remove the skins if you like.
Place the chickpeas in a medium bowl and toss them in the olive oil & cayenne. I used 1 teaspoon cayenne, this was perfect for me. Add more or less if you like. Or none at all!
On a cookie sheet lined with parchment paper, bake on 400 F for 30 mins.
Toss again with salt & crushed red pepper.
Allow them to cool completely before storing them in a bottle or zip loc bag or they will lose their crunchiness. But have no fear, if they aren't crunchy anymore the next day, you can put them back in the oven for another 2-3 mins on 400F to freshen them up!
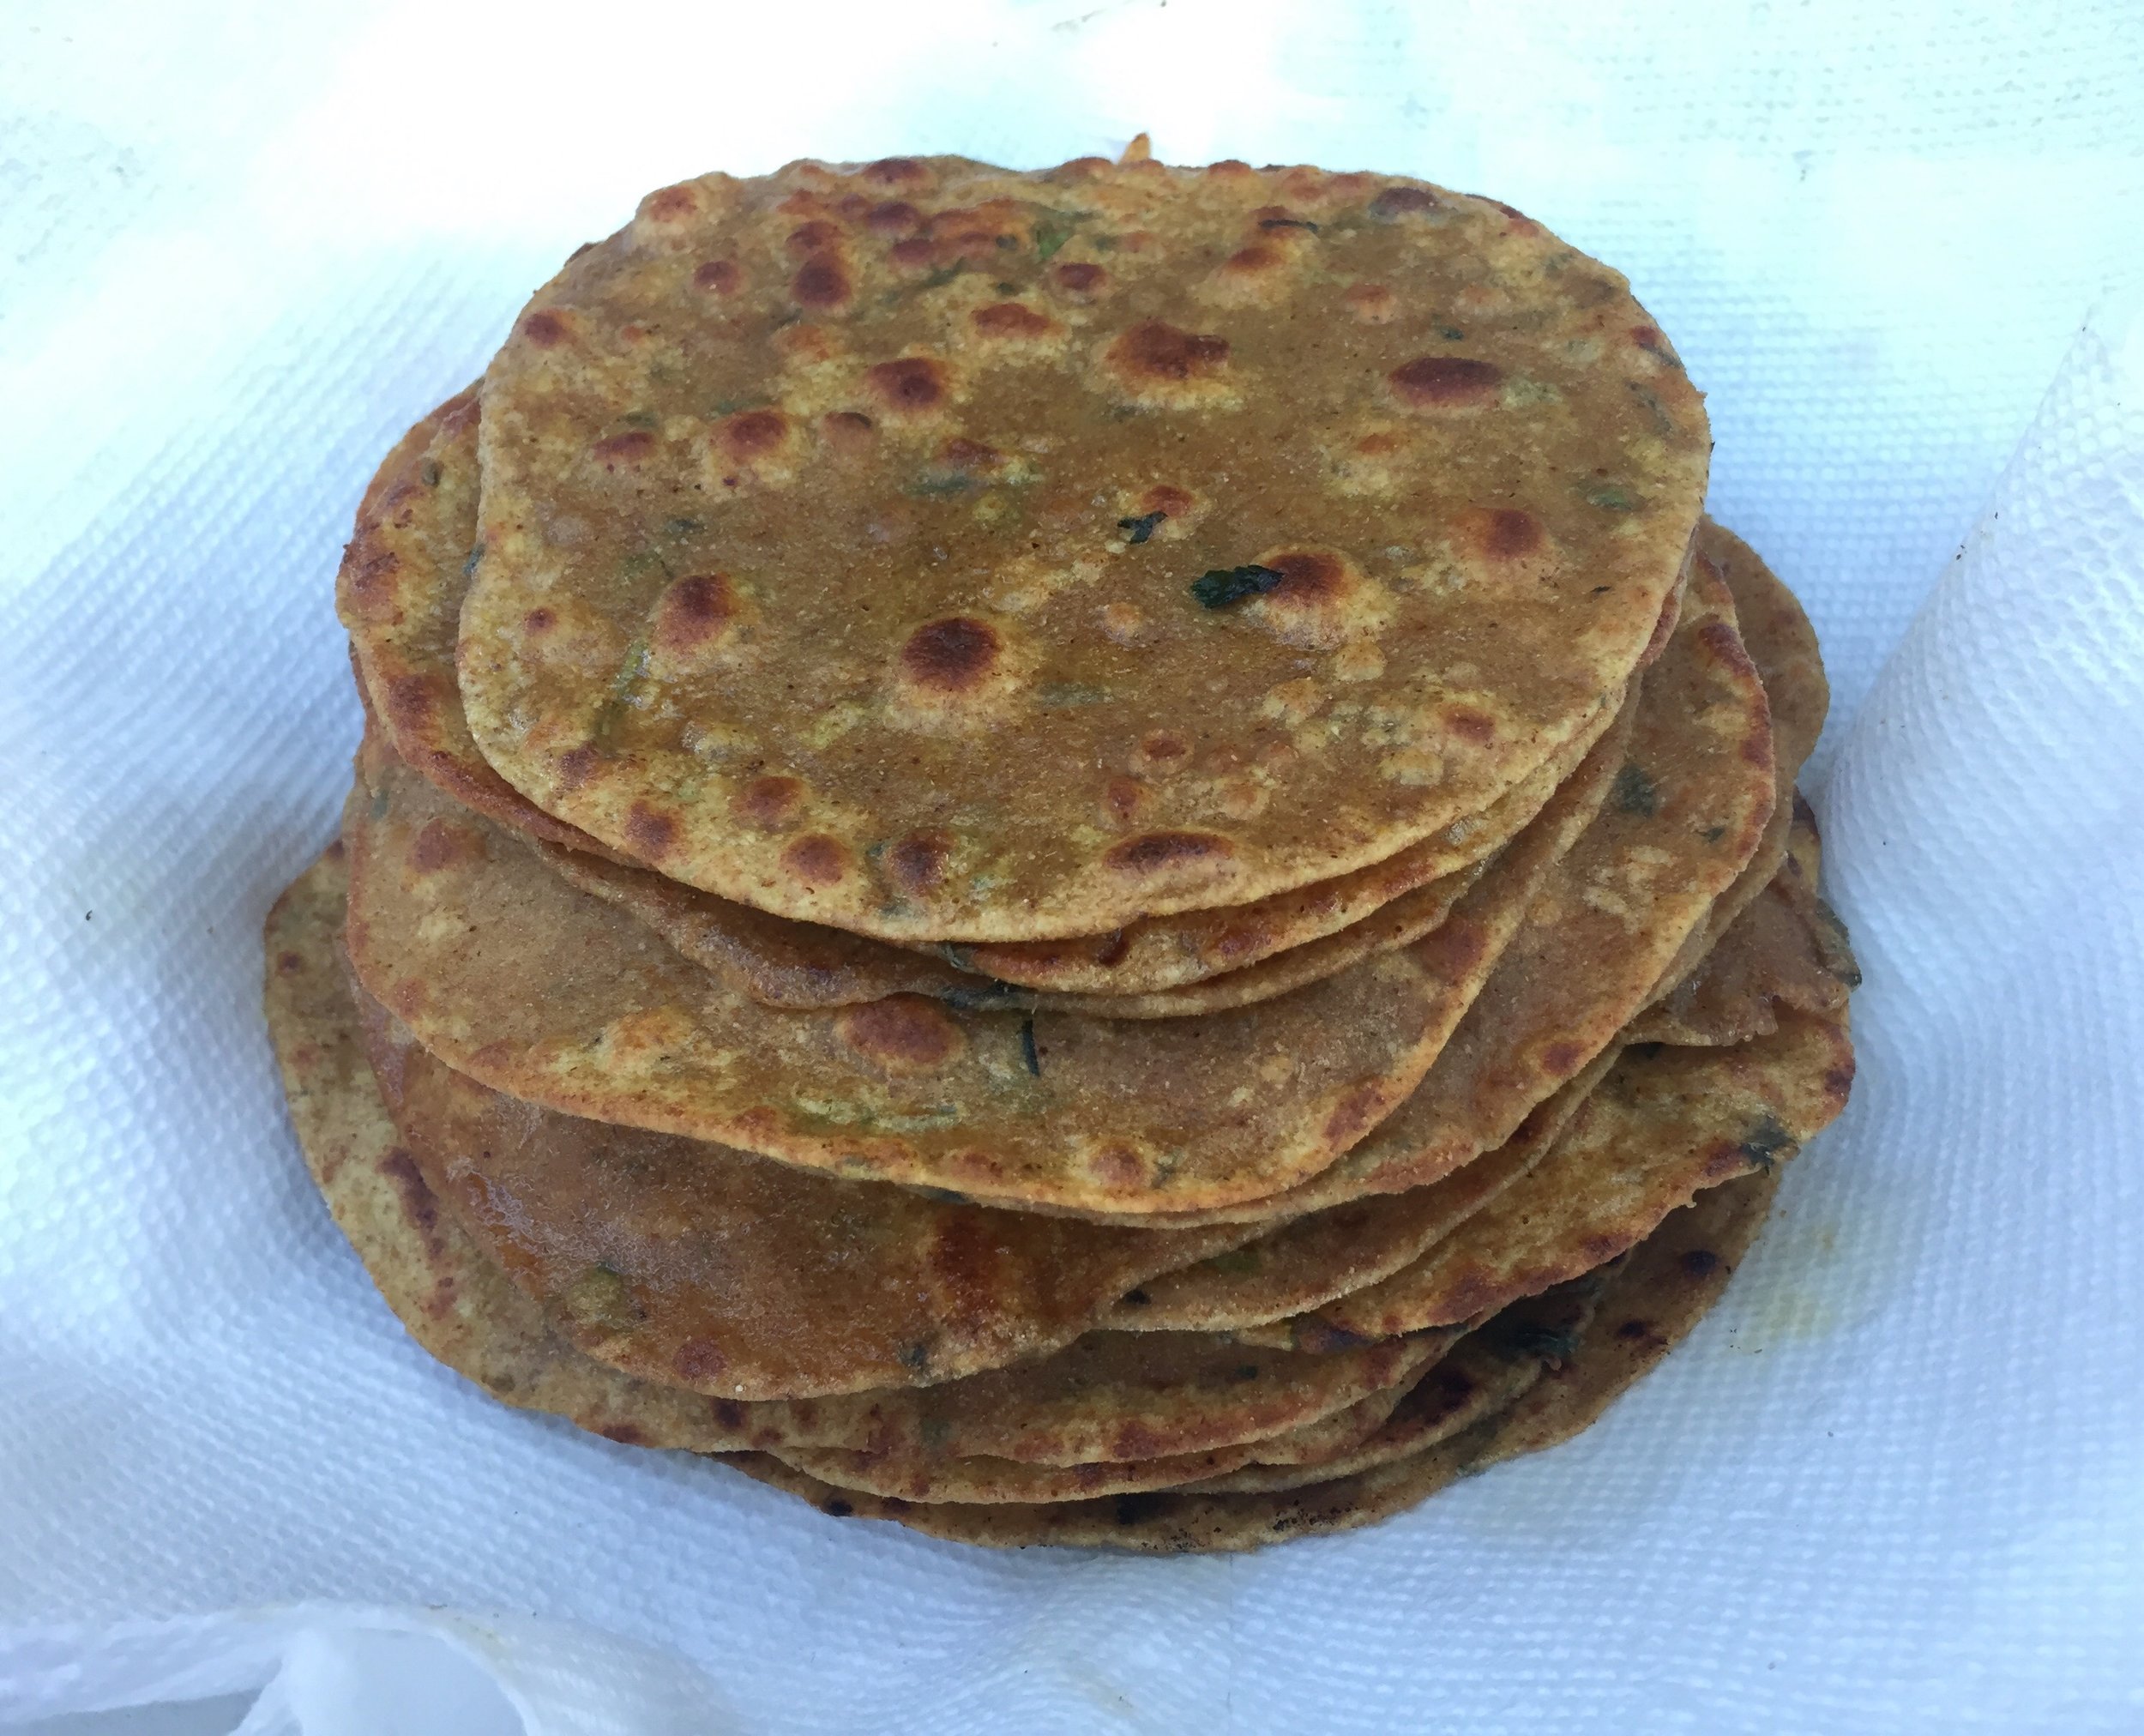
Theplas became one of my favorite Gujarati snacks when I started college & met my BFF. She is Guju & her mom would make her these divine, paper thin, loaded with flavor, incredibly complex tasting snacks. I learned that they are called theplas & they are not so complex to make! The cooler thing is that they are pretty healthy because of the fenugreek (methi) leaves. Fenugreek is known to help lower blood sugar, so it's great for diabetics.
Heres my take, don't be afraid to try it at home!
Time: 1.5 hours, yields 30 theplas
Ingredients:
2 cups whole wheat flour
1/2 cup besan (gram flour)
3 tablespoons chopped fresh methi (fenugreek) without the stems
2 green chilis, sliced
1.5 teaspoons ground jeera (cumin)
1.5 teaspoons chili powder
1 teaspoon coriander
1.5 teaspoons haldi (turmeric)
ghee or butter for cooking
1 cup half & half (can use dahi / plain yogurt, or simply water)
water for kneading
Recipe:
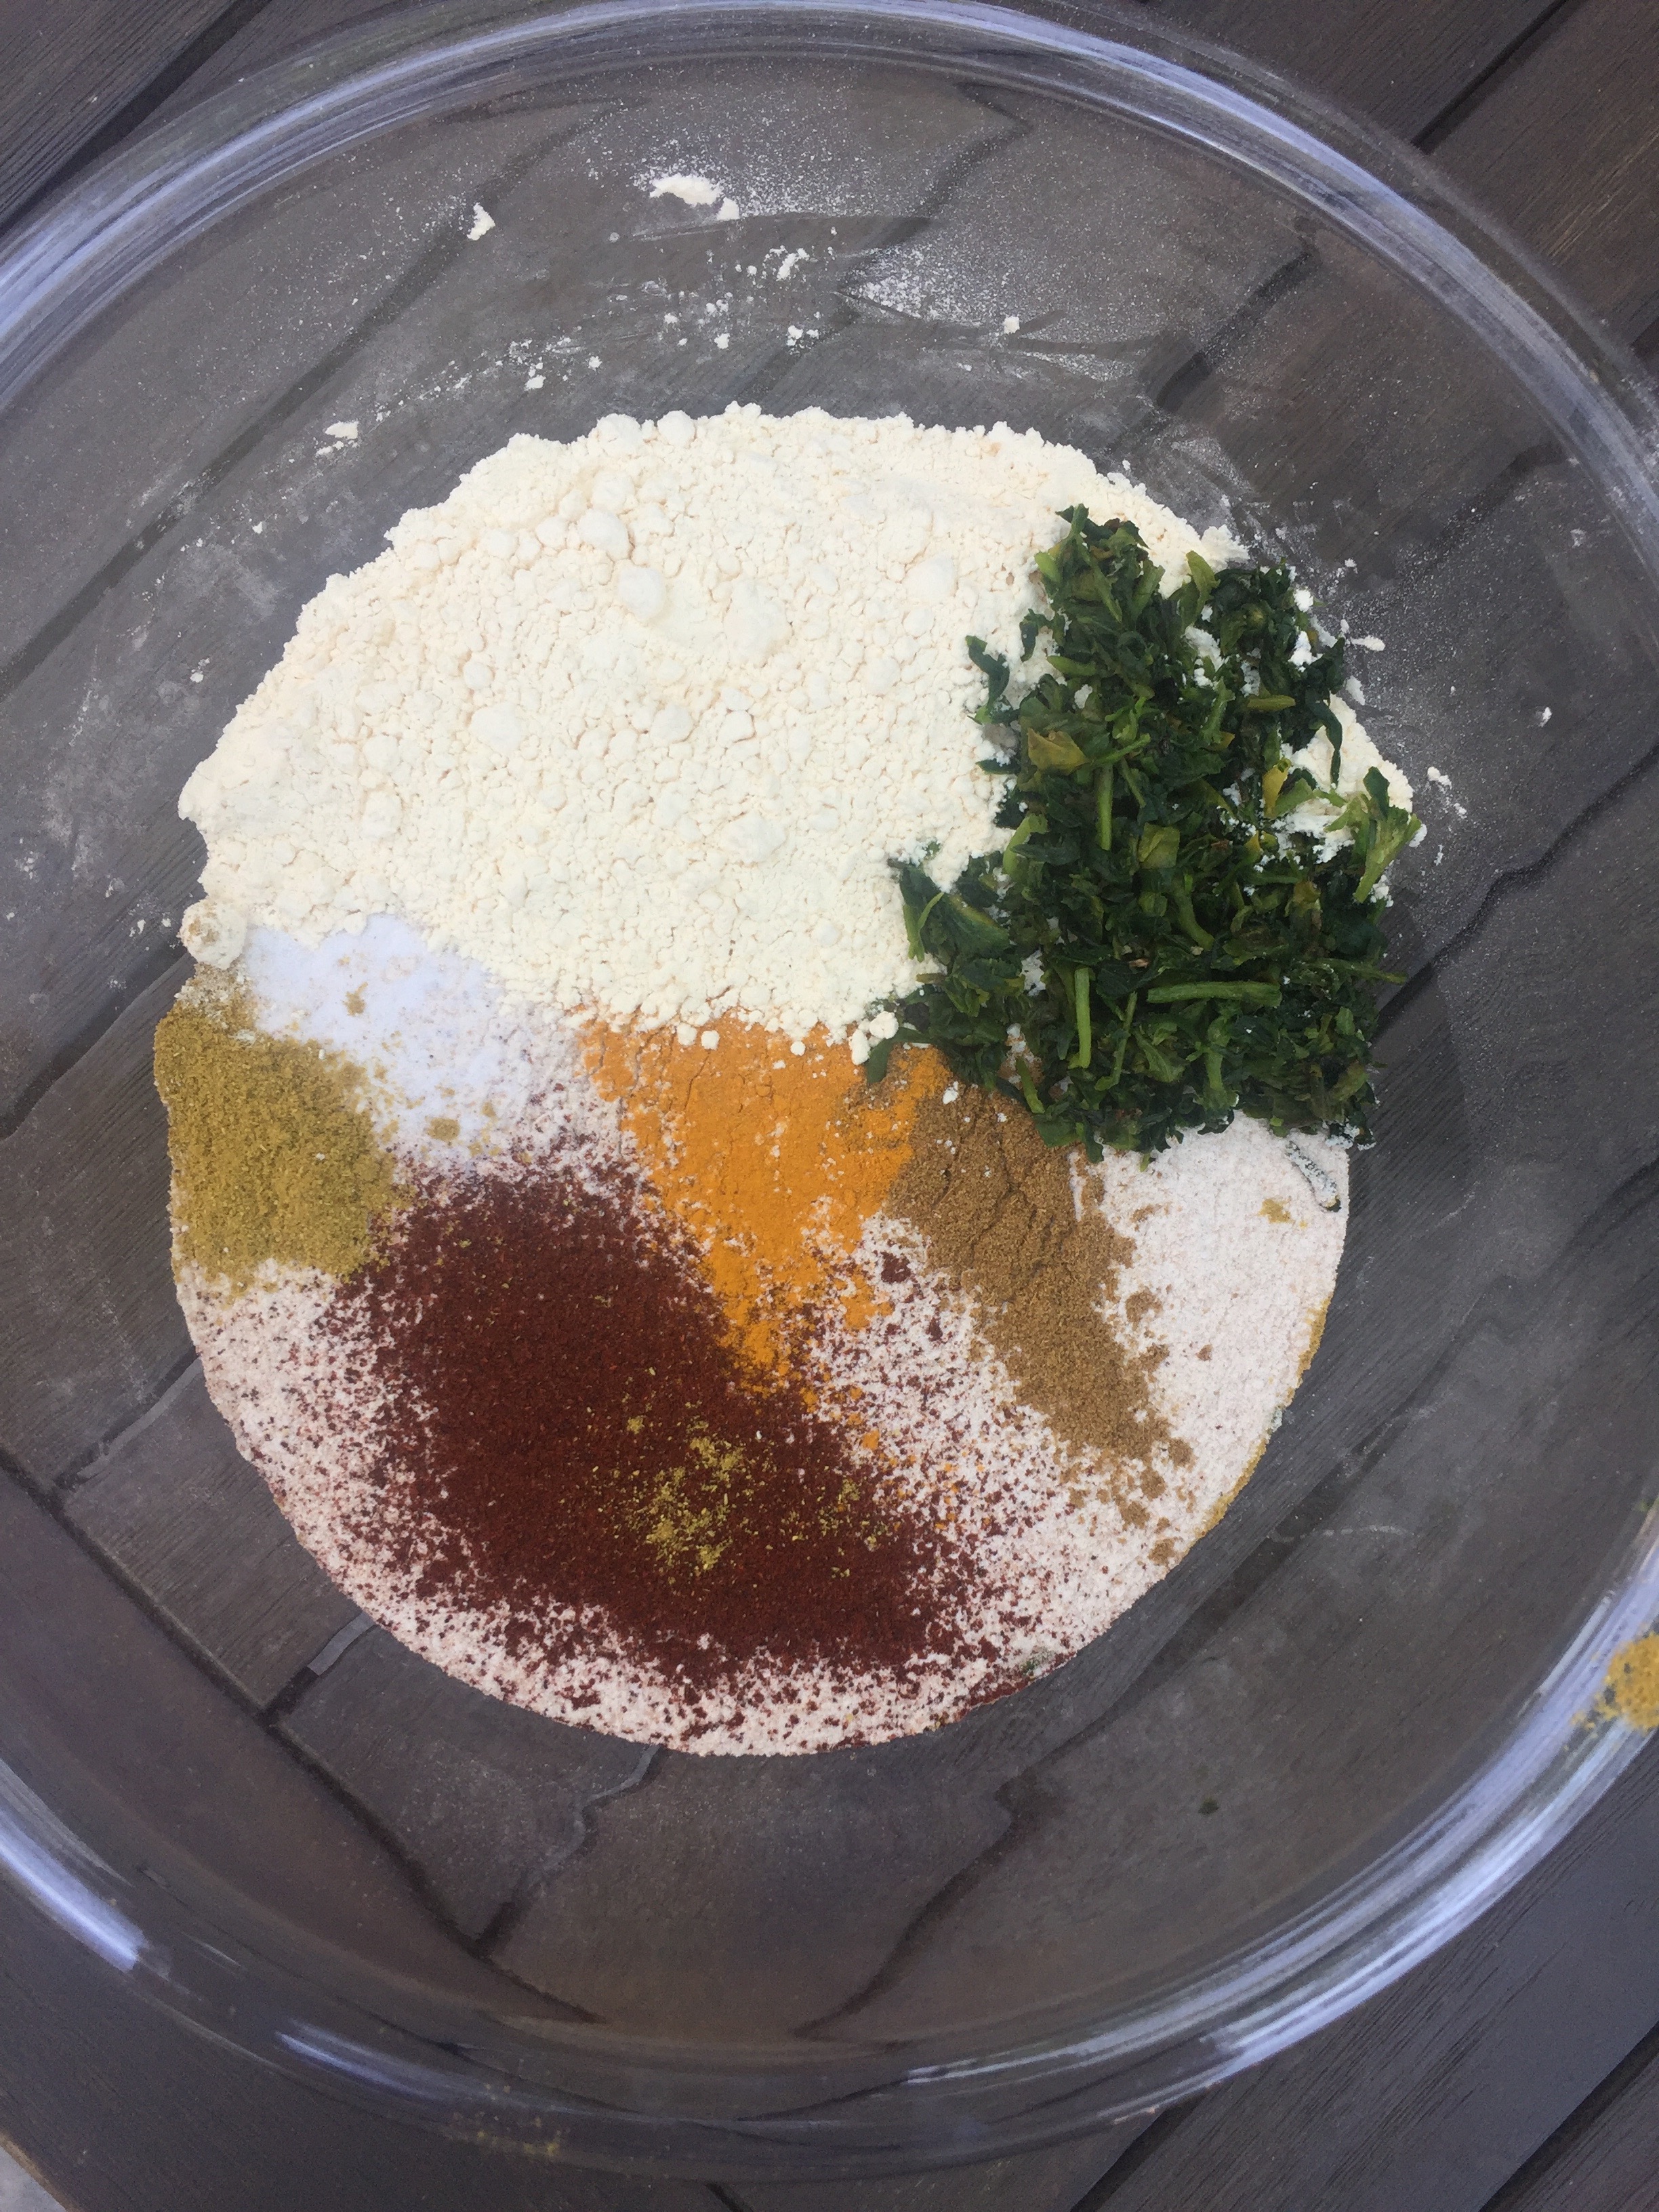
In a large bowl, add the dry ingredients & the methi leaves, mix to combine.
Add in the half & half slowly, kneading a bit at a time.
Add in the yogurt & knead until all of the dry ingredients are incorporated into the dough.
Wrap in plastic wrap & refrigerate for 15 mins.
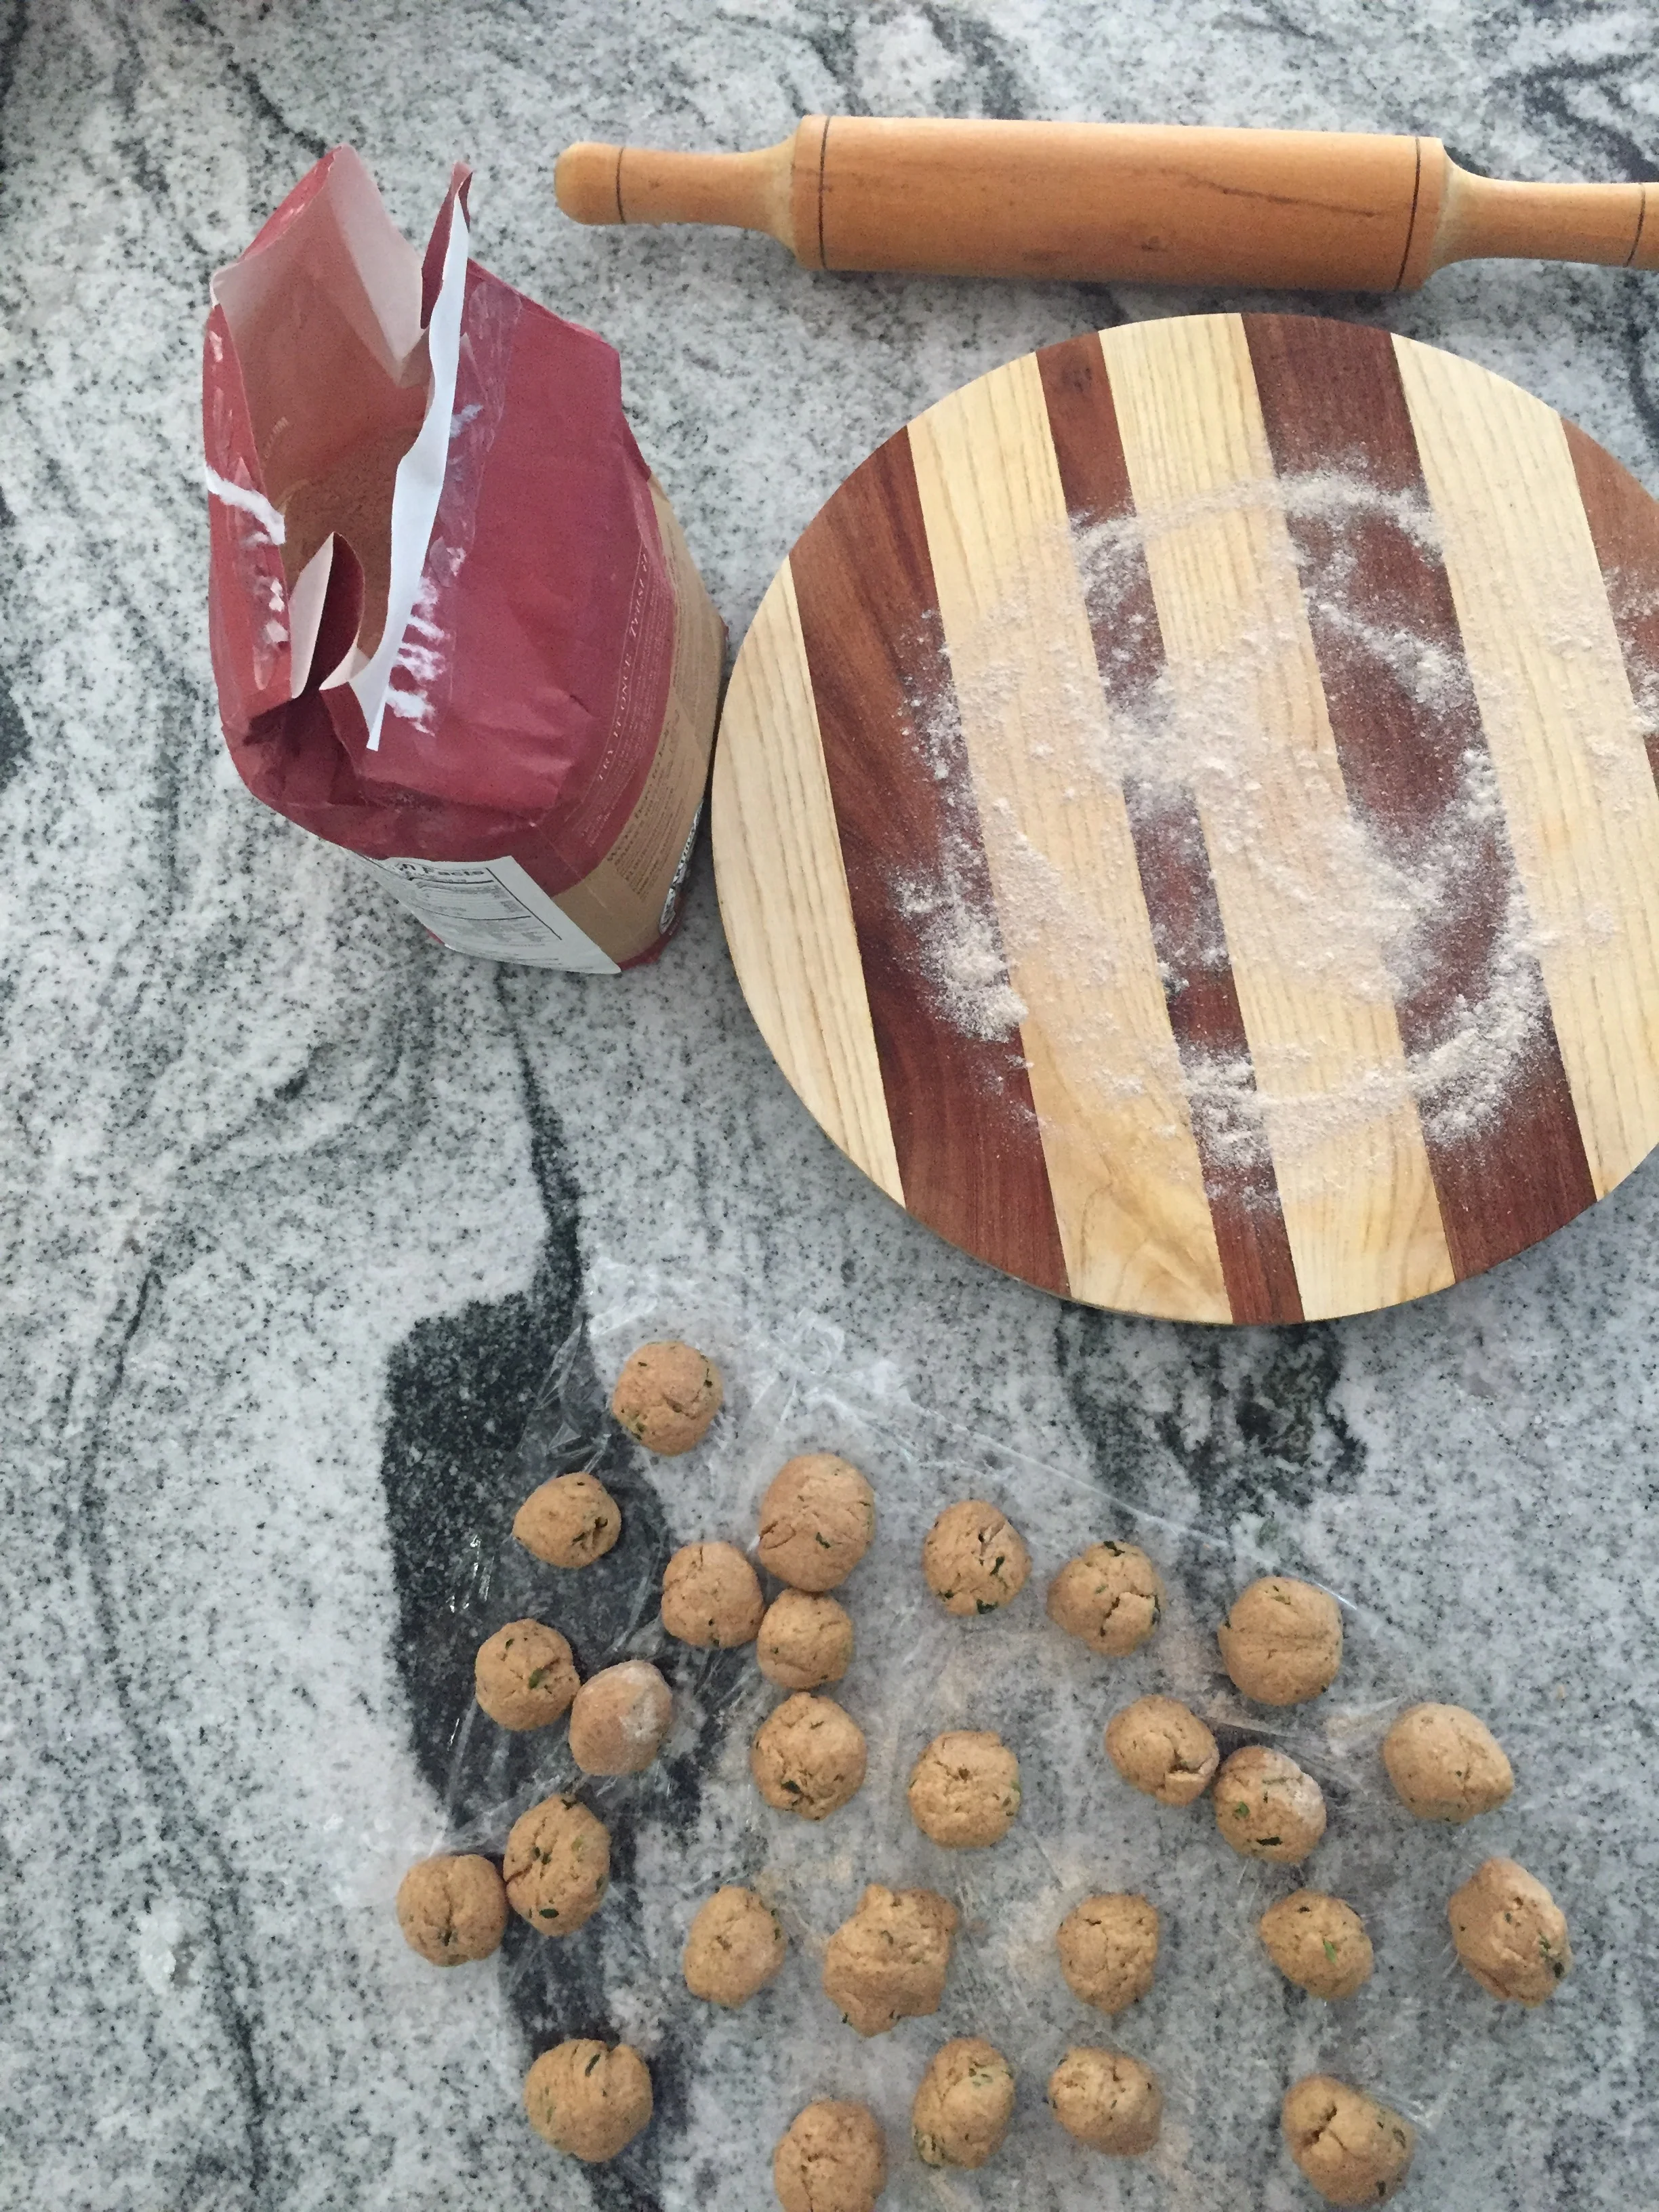
Form golf ball sized pieces out of the dough, this mixture should give you about 30.
Roll out each piece with a rolling pin on a lightly floured surface. Sprinkle whole wheat flour down first to ensure the dough doesn't stick.
On a shallow pan or taawa, heat 1 teaspoon of butter or ghee. Use medium-low heat.
Place the round, flat thepla on the pan or taawa & butter the top side.
When you see a bunch of bubbles forming, flip the thepla over using tongs or a spatula. Let it brown slightly on the other side.
Put the cooked thepla in a container lined with paper towel to soak up the excess butter.
MmmmMmm!! This Guyanese classic will make your whole house smell like sweetened coconut! So flaky, soft, slightly sweet, simply delicious. My recipe caters to certain allergies - it is eggless & dairy free. Enjoy!
Time: 1.5 hours
Ingredients:
Dough:
3 cups all purpose flour
1.5 teaspoons salt
1/4 cup warm water
1 packet yeast
1 cup warm Lactaid (can use milk if you want)
1 teaspoon ground cinnamon
1 tablespoon apple sauce (this replaces the egg)
1/4 cup shortening
1/4 cup + 1 teaspoon white sugar
1 tablespoon I Can't Believe it's not Butter, melted
Filling:
2 cups dried coconut flakes
1/4 cup brown sugar
1 teaspoon ground cinnamon
1 teaspoon vanilla extract
2-3 spoons water
5-6 drops red food coloring
Recipe:
Disolve the yeast in 1/4 cup water & the teaspoon white sugar.
Place it in a dark warm area to activate for 10 minutes (I put mine in the microwave with it turned off).
In a large bowl, combine the flour, 1/4 cup white sugar, salt, & cinnamon. Once the flour mixture is combined, cut the shortening in (until no chunks remain).
After the yeast activates, add the warm Lactaid, yeast mixture & applesauce to the flour. Knead to form a dough.
Place the dough in a greased basin (I used vegetable oil to grease mine) covered with foil for 1 hour. Dough will double in size.
While the dough is rising, you can make the filling. Combine all of the filling ingredients and mix well so the food coloring is absorbed by all of the coconut. You may need to add more water, you don't want the filling to be very dry.
Once the hour is up & the dough has risen, punch it in the middle so the air comes out. Then, split the dough into 2 equal parts (you'll be making 2 rolls).
Use a rolling pin & a light dusting of flour to roll out each dough to a rectangle.
Scoop half of the filling into each rectangle & spread to distribute evenly. Make sure the filling is all around the edges so you get a really good design!
Bake on 350 for 10 minutes, then brush on some of your melted I Can't Believe it's not Butter, and bake again for another 5-10 minutes until golden brown.
Finally some warm(ish) weather on the East Coast! Bring on the tropical fruit!! I got some mangos that weren't quite ripe yet. Well being the impatient woman that I am, I decided to make mango chow, instead of waiting for them to get ripe :) #fooddiva
Time: 20 minutes
Ingredients:
4 large mangos (almost ripe but still hard)
Juice of half a lemon
1 scotch bonnet pepper, sliced with seeds removed
2 - 3 cloves garlic, sliced thin
Salt/pepper to taste
1 large handful cilantro, finely chopped
Recipe:
Peel & slice the mangos into chunks.
Put all ingredients in a large basin & toss to coat the mango.
Refrigerate for at least 30 minutes so the flavors combine.
One of my fave appetizers, side dishes, or snacks in the summer! Save those green tomatoes at the end of the summer & make use of them with this 15 minute recipe. You won't regret it, fried green tomatoes are so delicious & easy to make!
Time: 15-20 mins depending how many you're making, this recipe serves 2-3 ppl
Ingredients:
2-3 large green tomatoes
1 cup all purpose flour
1 tablespoon fine sea salt
1 tablespoon black pepper
1 cup panko or Goya corn meal
1/4 cup milk (I used lactaid)
1/2 cup vegetable oil or sunflower oil
Optional: 1 teaspoon grated asiago cheese as a garnish
Recipe:
Cut the tomatoes into even slices, about 1/2 inch. You don't want them too thick or they'll be still raw on the inside when you fry them.
Heat the vegetable or sunflower oil to medium heat in a frying pan.
Get 3 small bowls. Put the flour, salt & pepper in one bowl, milk in another bowl, & the panko or cornmeal in the third bowl. Season all 3 bowls with salt & pepper.
Dip the tomatoes one by one into the flour bowl first, then the milk, then the panko or cornmeal.
Fry until golden brown on each side (about 2-3 mins).
Drain on a paper towel then serve with your favorite dressing or spicy mayo! Also goes well with ranch.
Hint: I sprinkled the tops with freshly grated Asiago cheese to complete the taste & give it a fancy look!