Here you go, folks! A healthy, crunchy, spicy (if you want) snack!! I don't know bout y'all but I feel so accomplished making my own snacks, especially when they are healthy. This one will take you ~40 mins. If you try this, tell me your spice combos, I'm dying to try new ones!
Time: 40 mins
Ingredients:
1 can chickpeas
1.5 tablespoons olive oil
ground cayenne pepper to taste
crushed red pepper to taste
salt to taste
Recipe:
Strain & rinse the canned chickpeas. You can boil them with 2 tablespoons baking soda before baking them, to remove the skins if you like.
Place the chickpeas in a medium bowl and toss them in the olive oil & cayenne. I used 1 teaspoon cayenne, this was perfect for me. Add more or less if you like. Or none at all!
On a cookie sheet lined with parchment paper, bake on 400 F for 30 mins.
Toss again with salt & crushed red pepper.
Allow them to cool completely before storing them in a bottle or zip loc bag or they will lose their crunchiness. But have no fear, if they aren't crunchy anymore the next day, you can put them back in the oven for another 2-3 mins on 400F to freshen them up!
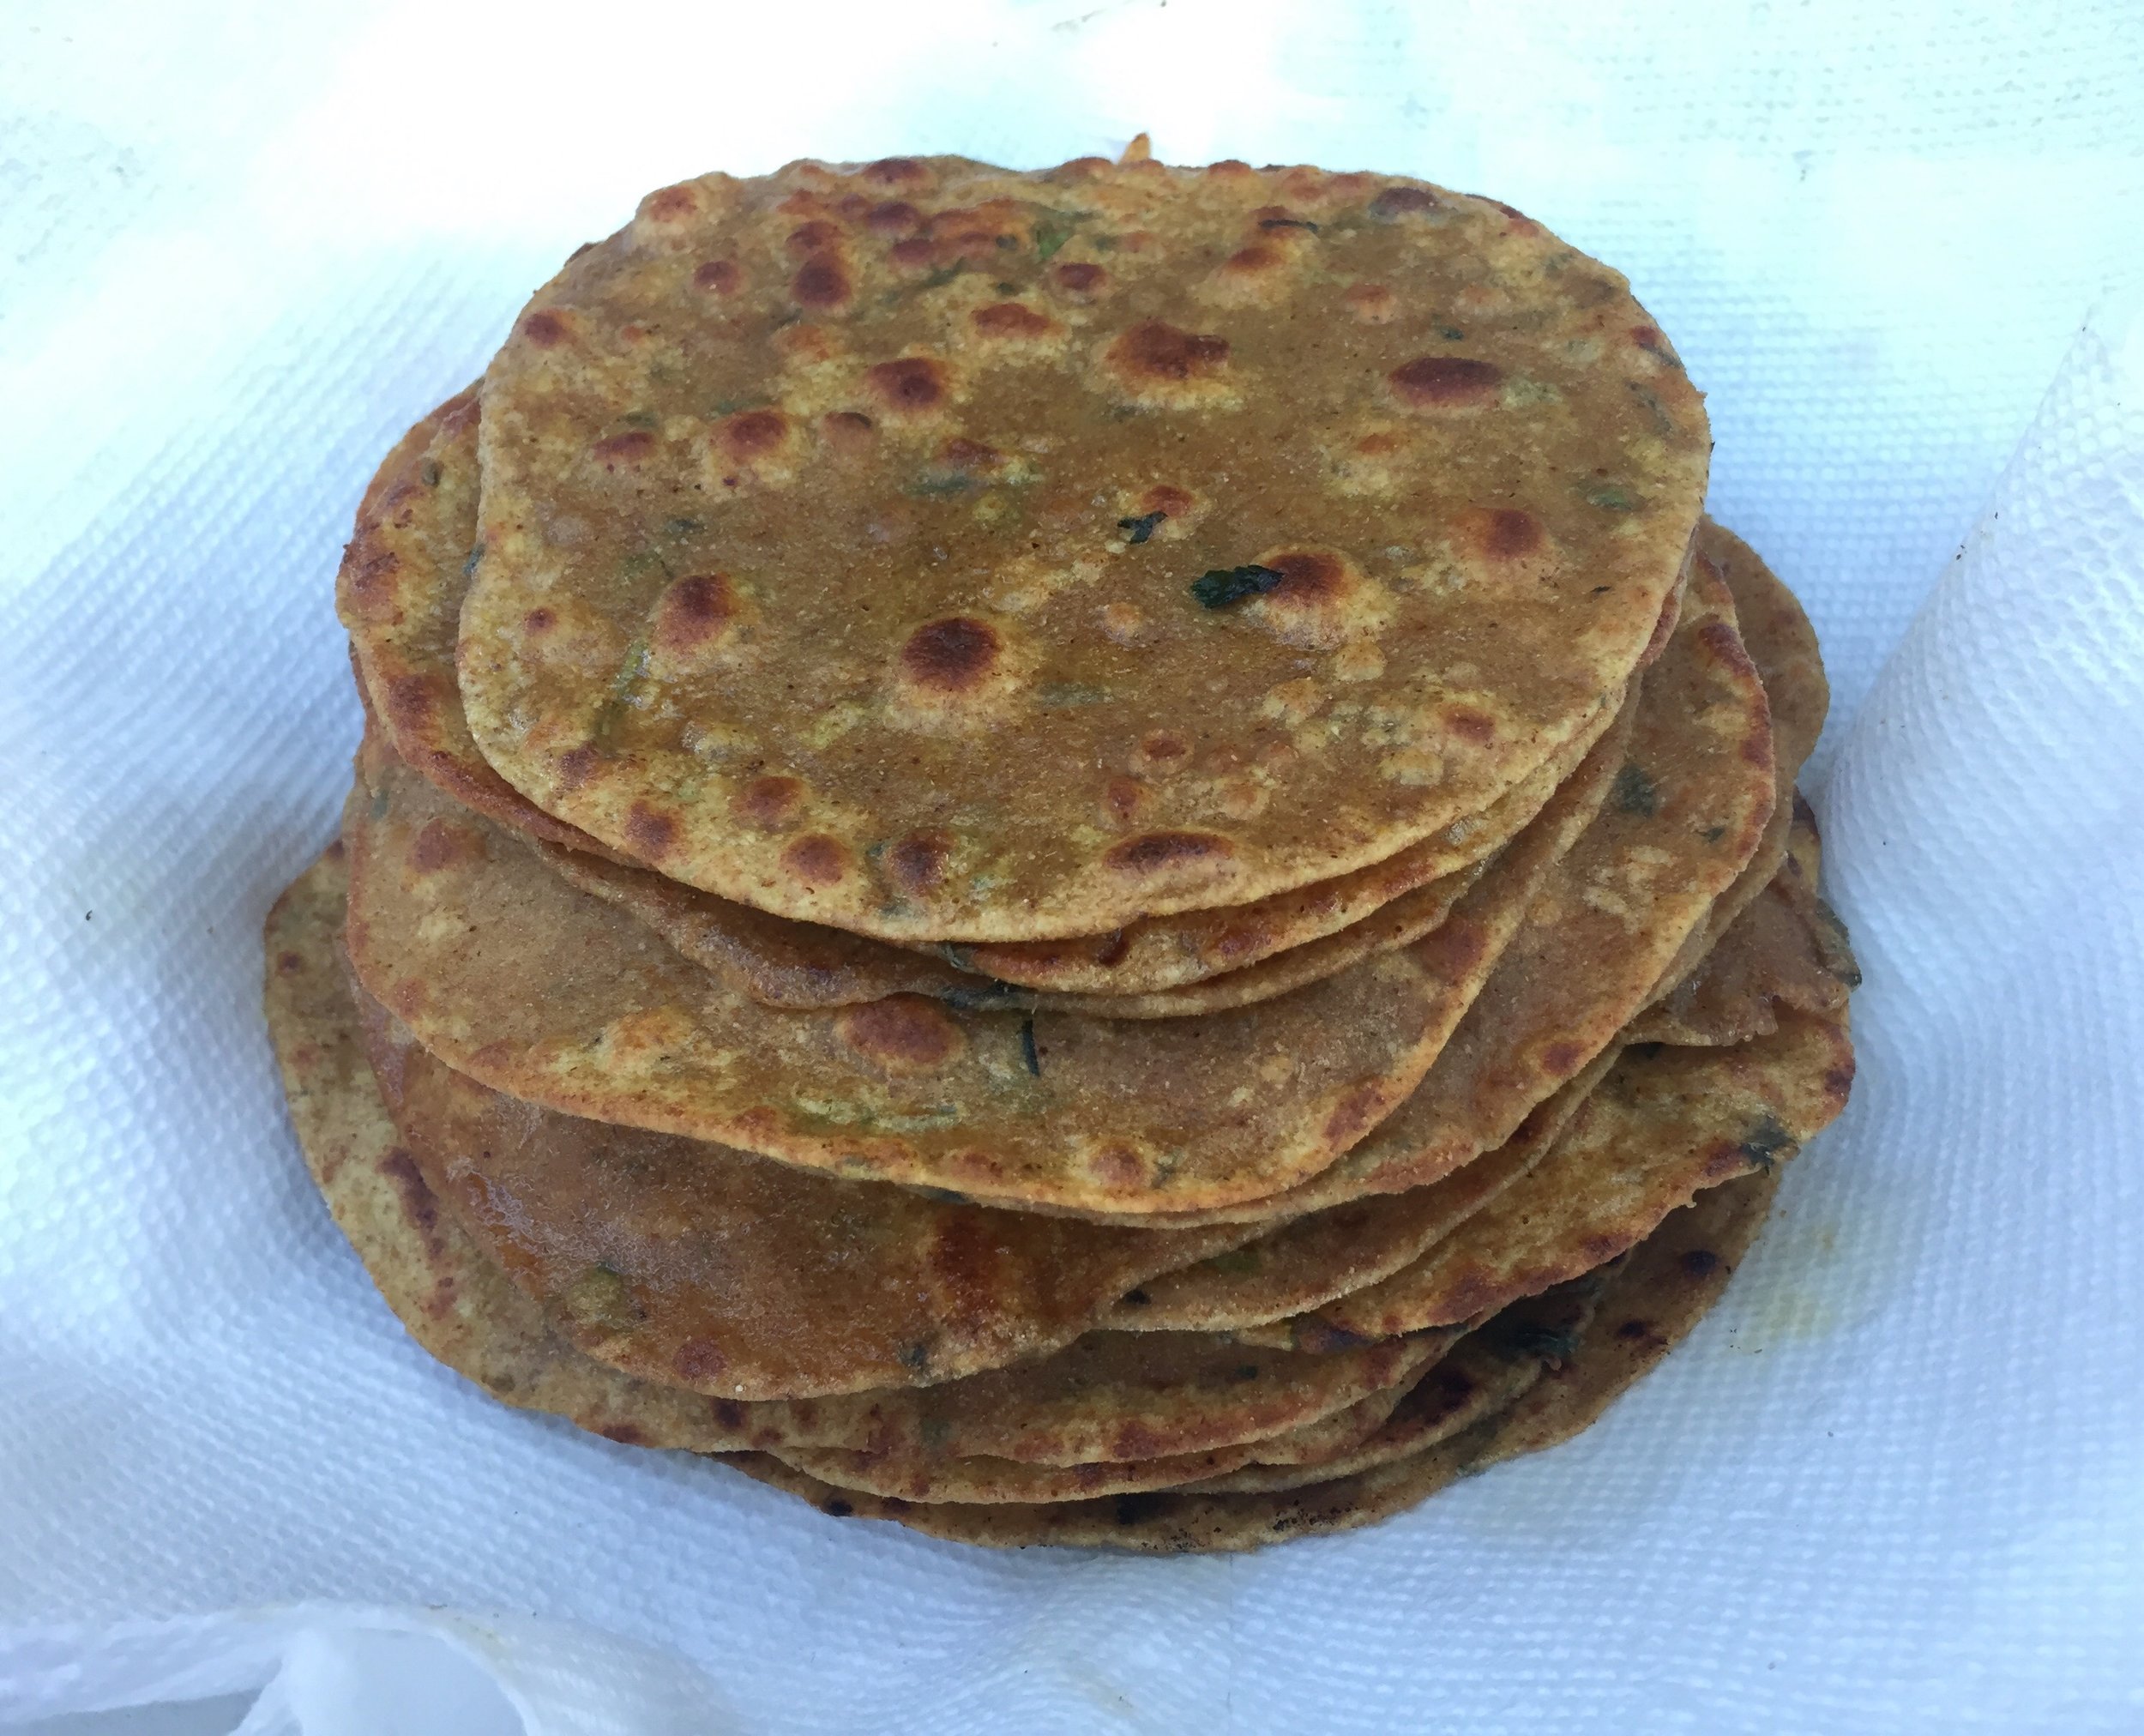
Theplas became one of my favorite Gujarati snacks when I started college & met my BFF. She is Guju & her mom would make her these divine, paper thin, loaded with flavor, incredibly complex tasting snacks. I learned that they are called theplas & they are not so complex to make! The cooler thing is that they are pretty healthy because of the fenugreek (methi) leaves. Fenugreek is known to help lower blood sugar, so it's great for diabetics.
Heres my take, don't be afraid to try it at home!
Time: 1.5 hours, yields 30 theplas
Ingredients:
2 cups whole wheat flour
1/2 cup besan (gram flour)
3 tablespoons chopped fresh methi (fenugreek) without the stems
2 green chilis, sliced
1.5 teaspoons ground jeera (cumin)
1.5 teaspoons chili powder
1 teaspoon coriander
1.5 teaspoons haldi (turmeric)
ghee or butter for cooking
1 cup half & half (can use dahi / plain yogurt, or simply water)
water for kneading
Recipe:
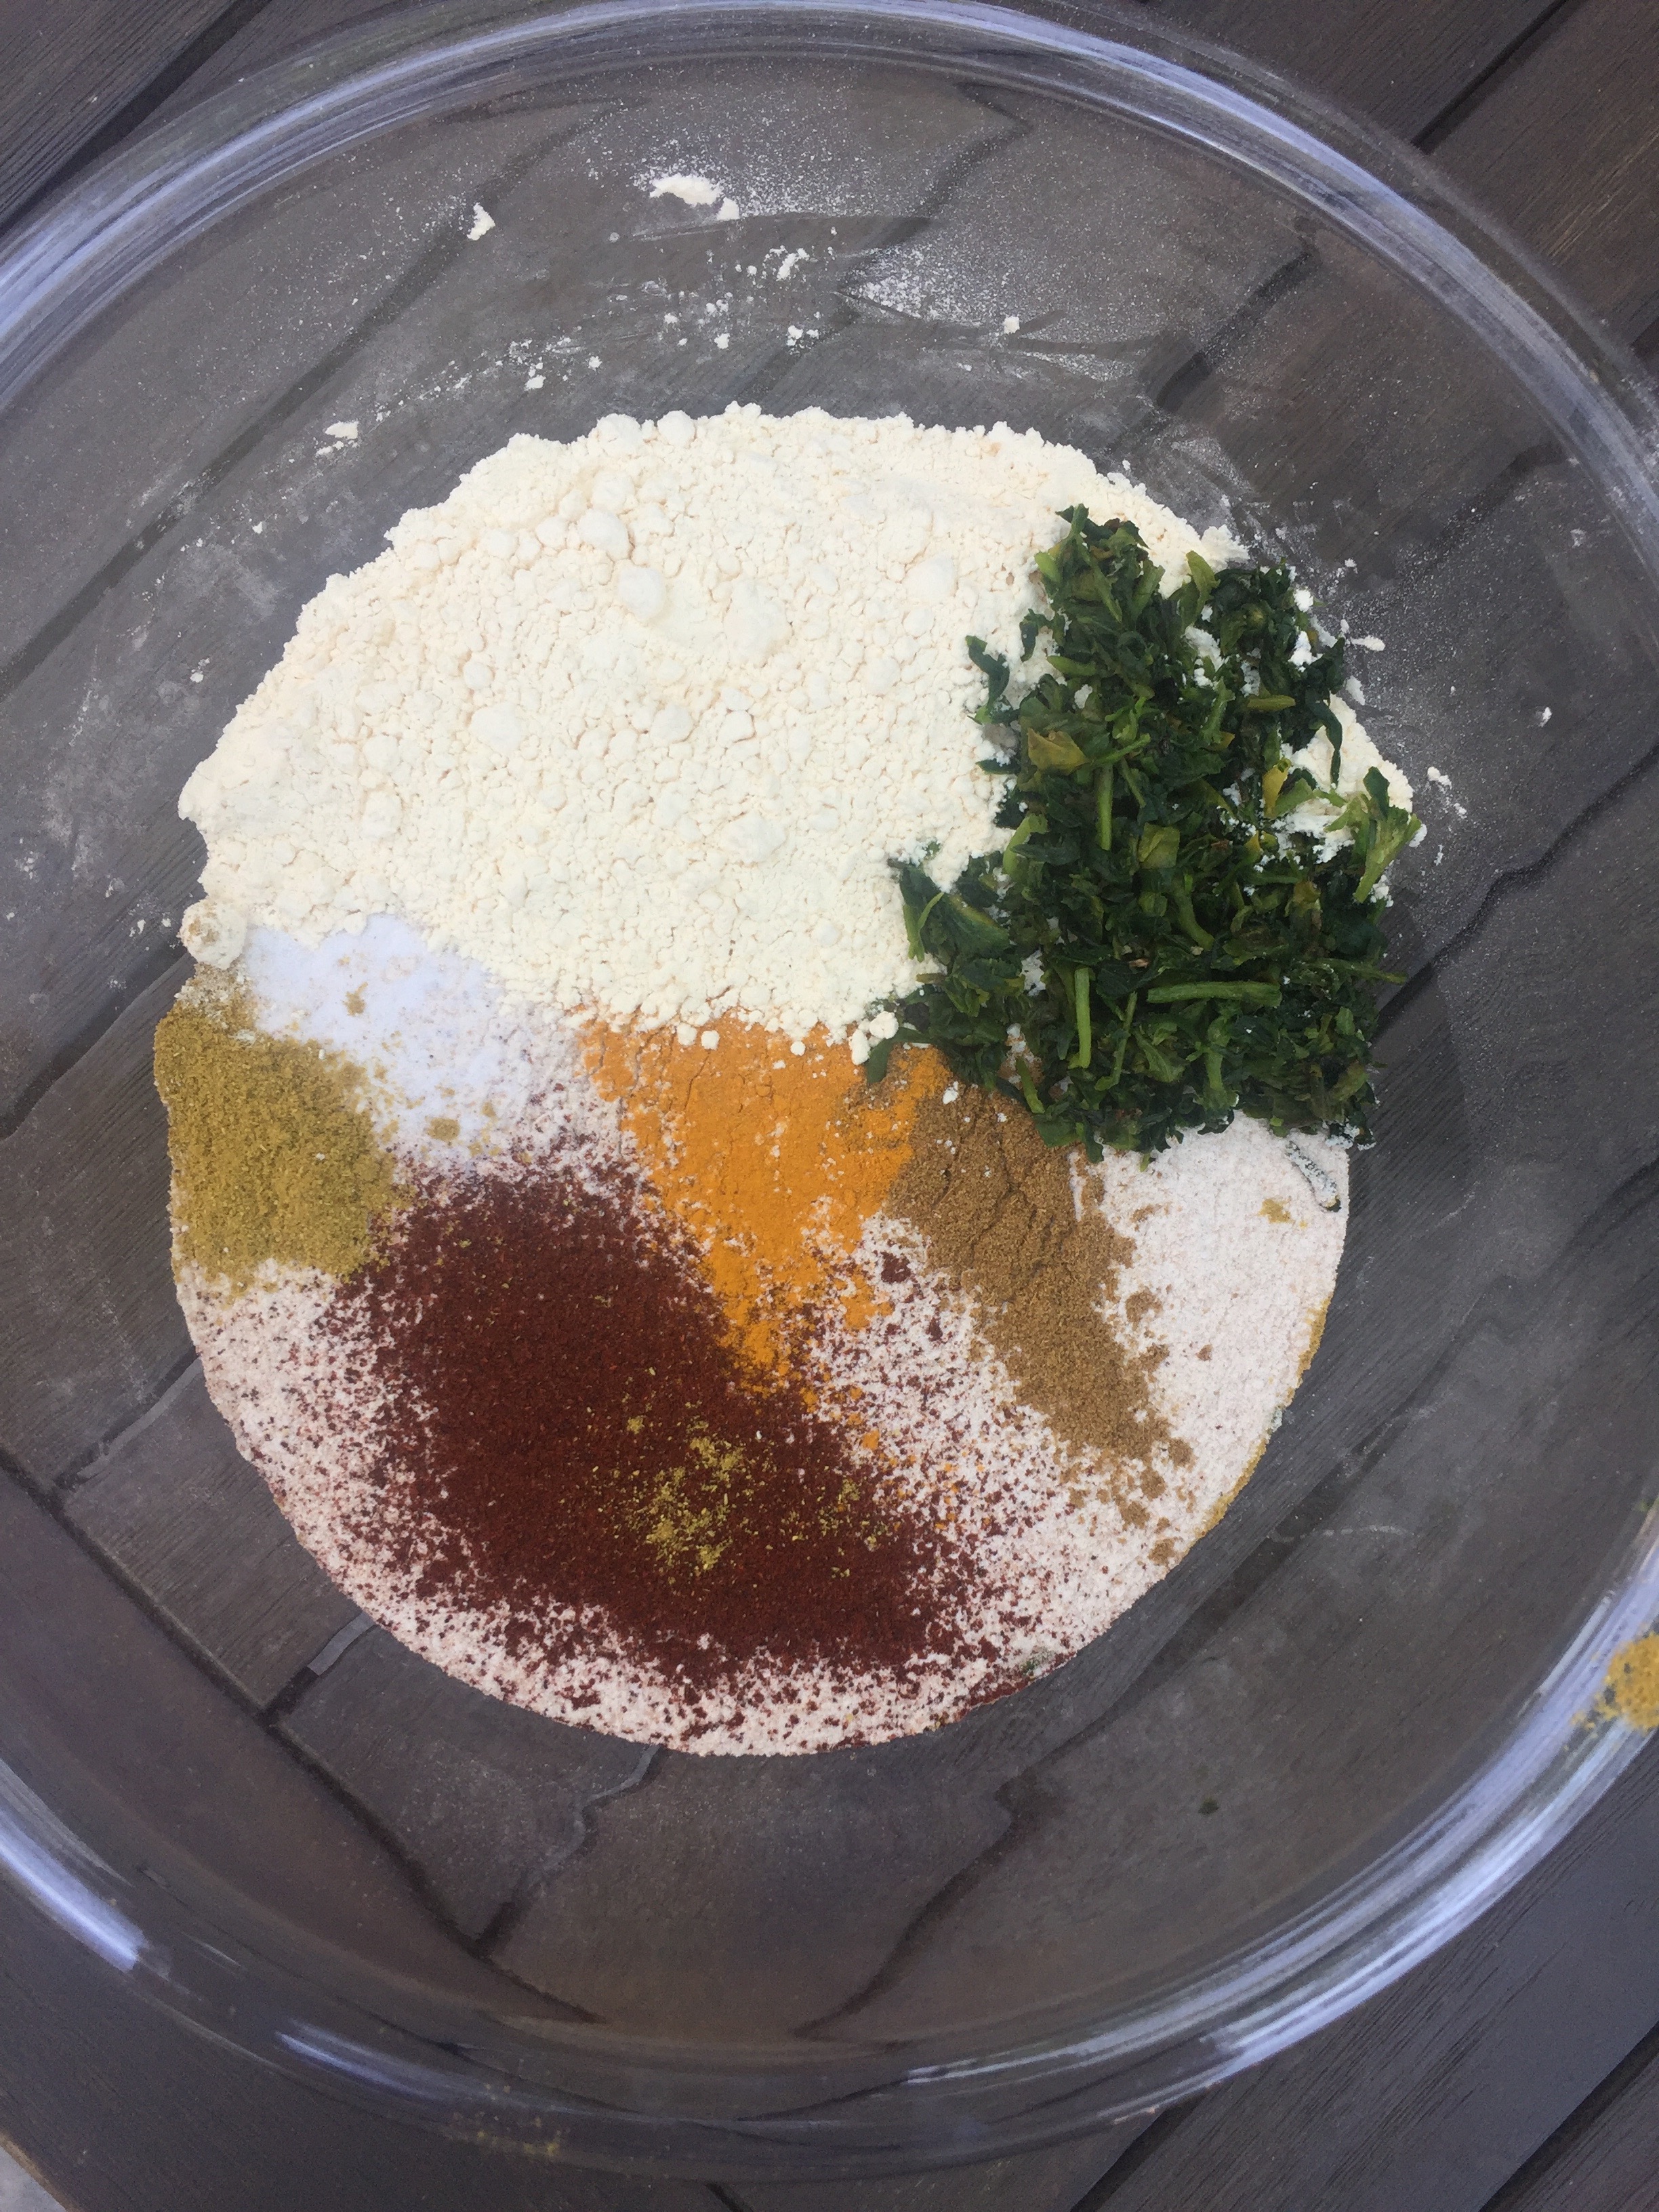
In a large bowl, add the dry ingredients & the methi leaves, mix to combine.
Add in the half & half slowly, kneading a bit at a time.
Add in the yogurt & knead until all of the dry ingredients are incorporated into the dough.
Wrap in plastic wrap & refrigerate for 15 mins.
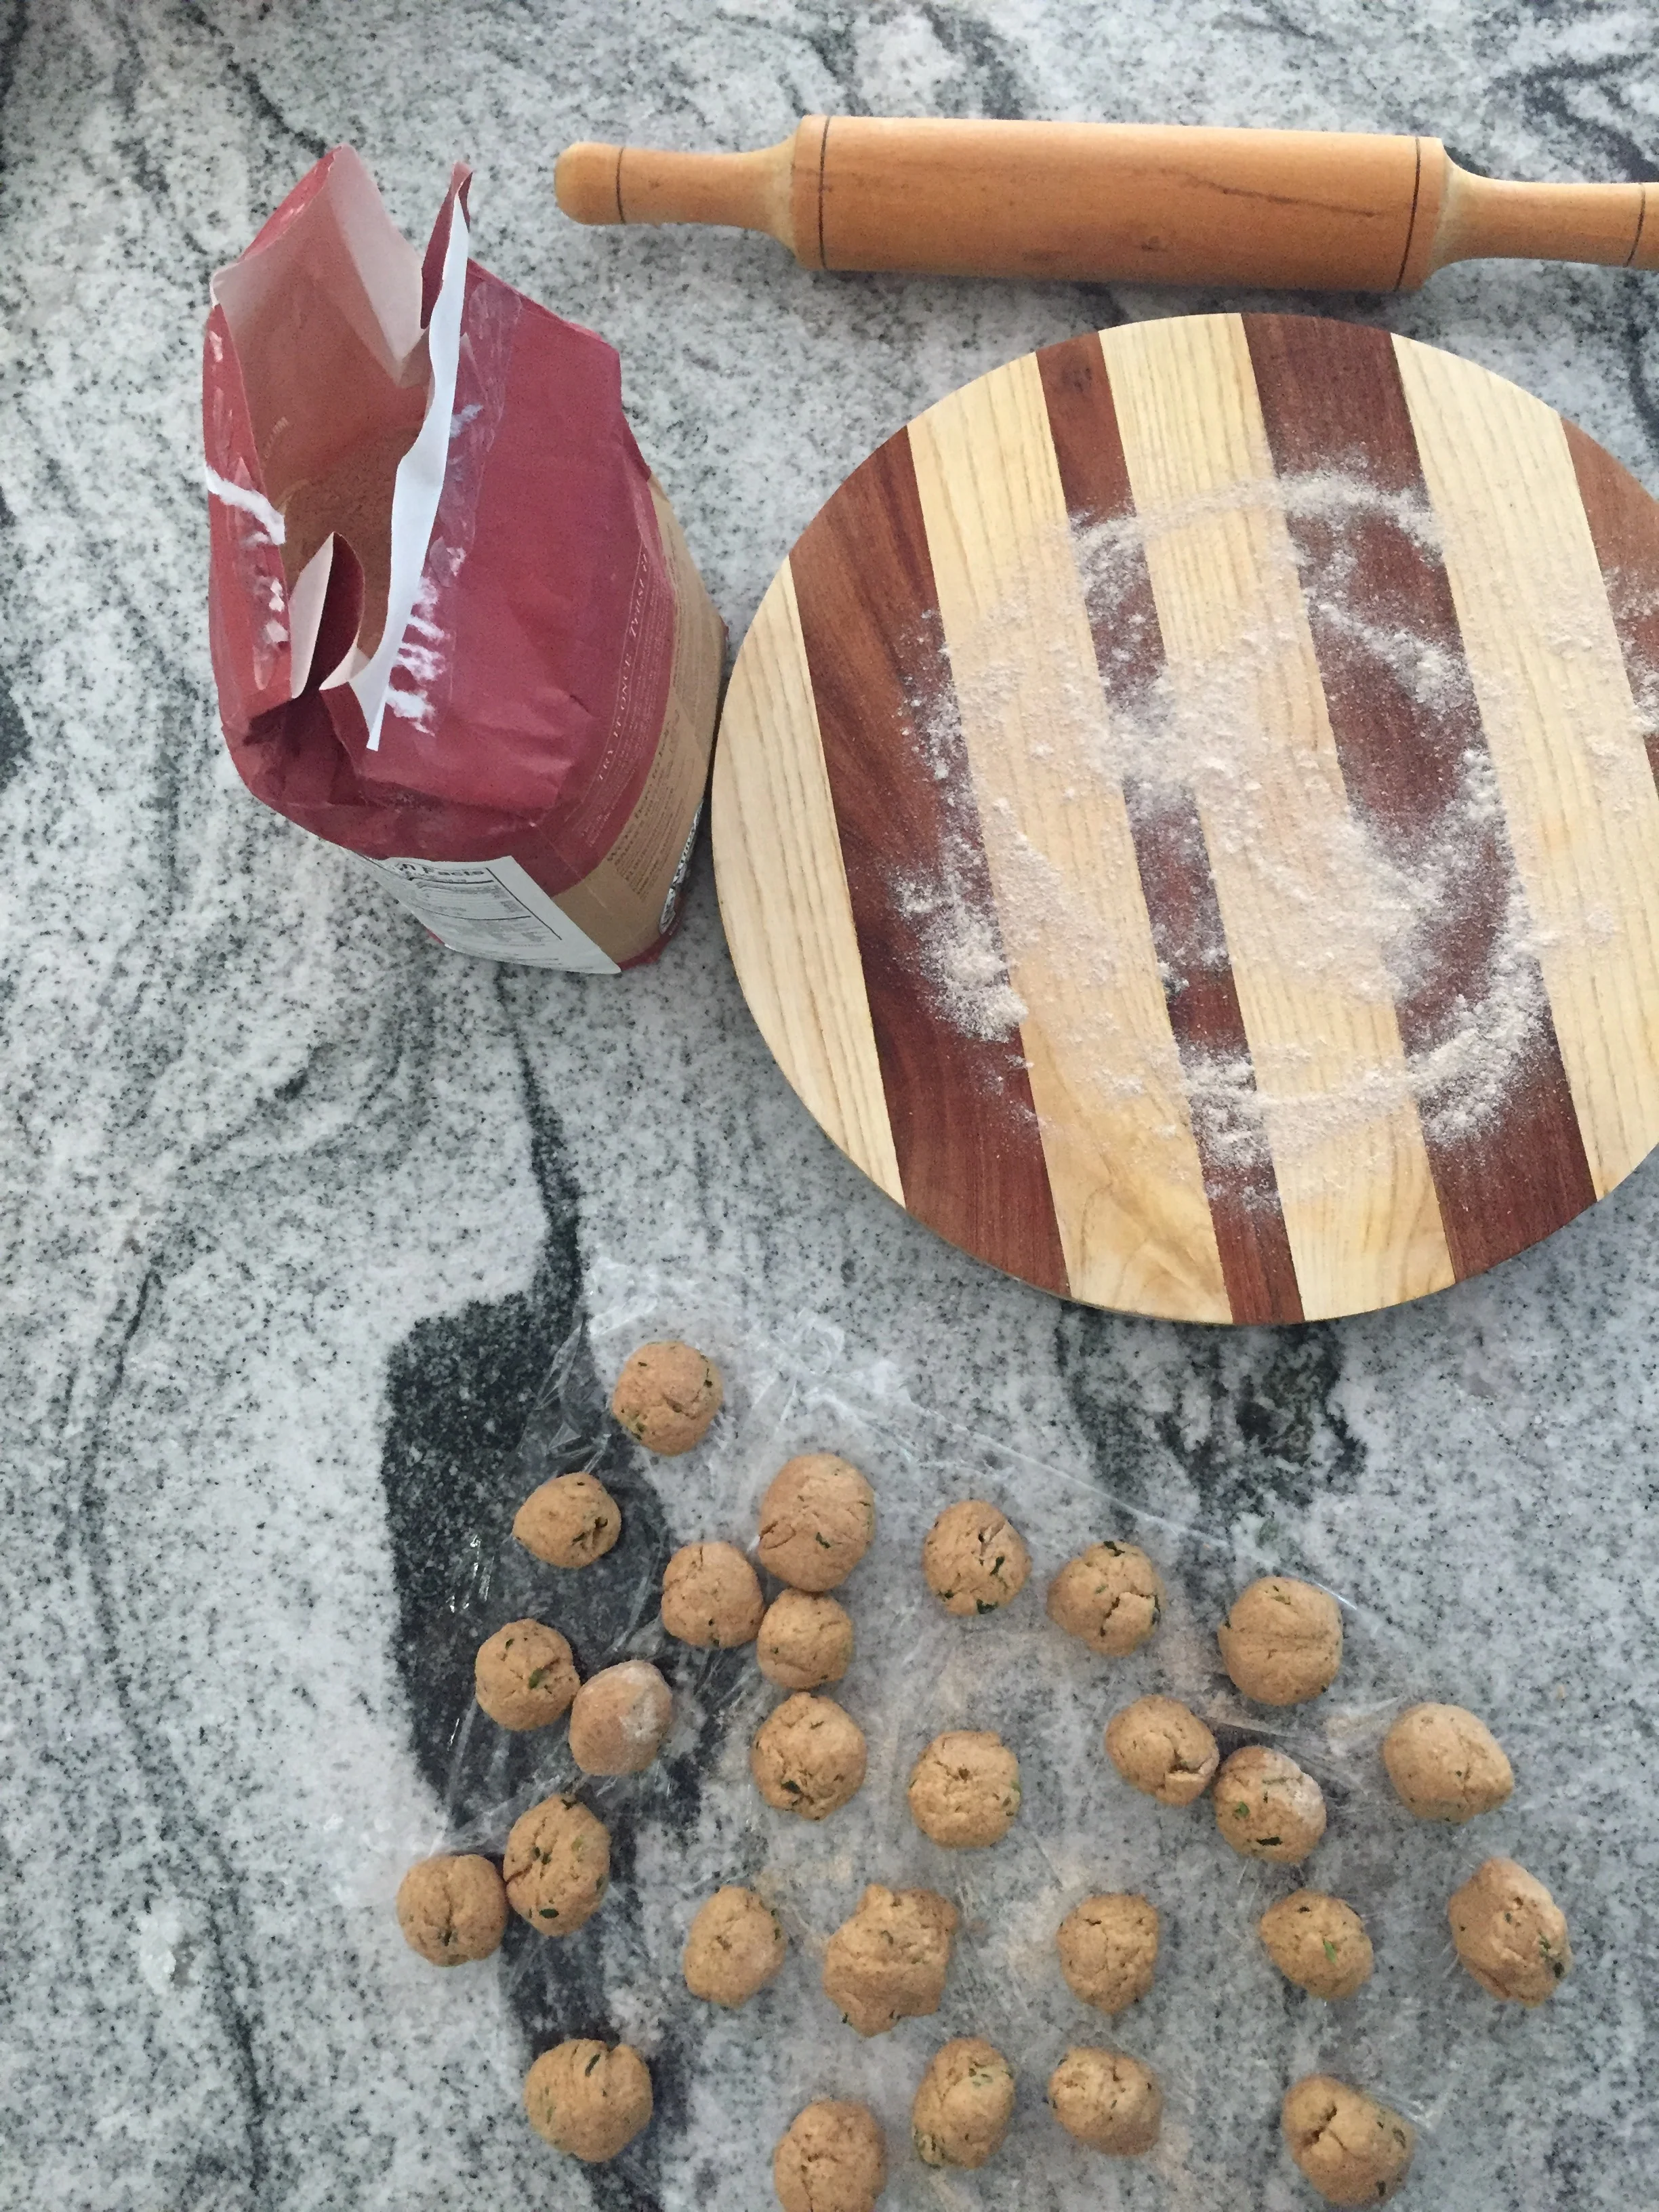
Form golf ball sized pieces out of the dough, this mixture should give you about 30.
Roll out each piece with a rolling pin on a lightly floured surface. Sprinkle whole wheat flour down first to ensure the dough doesn't stick.
On a shallow pan or taawa, heat 1 teaspoon of butter or ghee. Use medium-low heat.
Place the round, flat thepla on the pan or taawa & butter the top side.
When you see a bunch of bubbles forming, flip the thepla over using tongs or a spatula. Let it brown slightly on the other side.
Put the cooked thepla in a container lined with paper towel to soak up the excess butter.
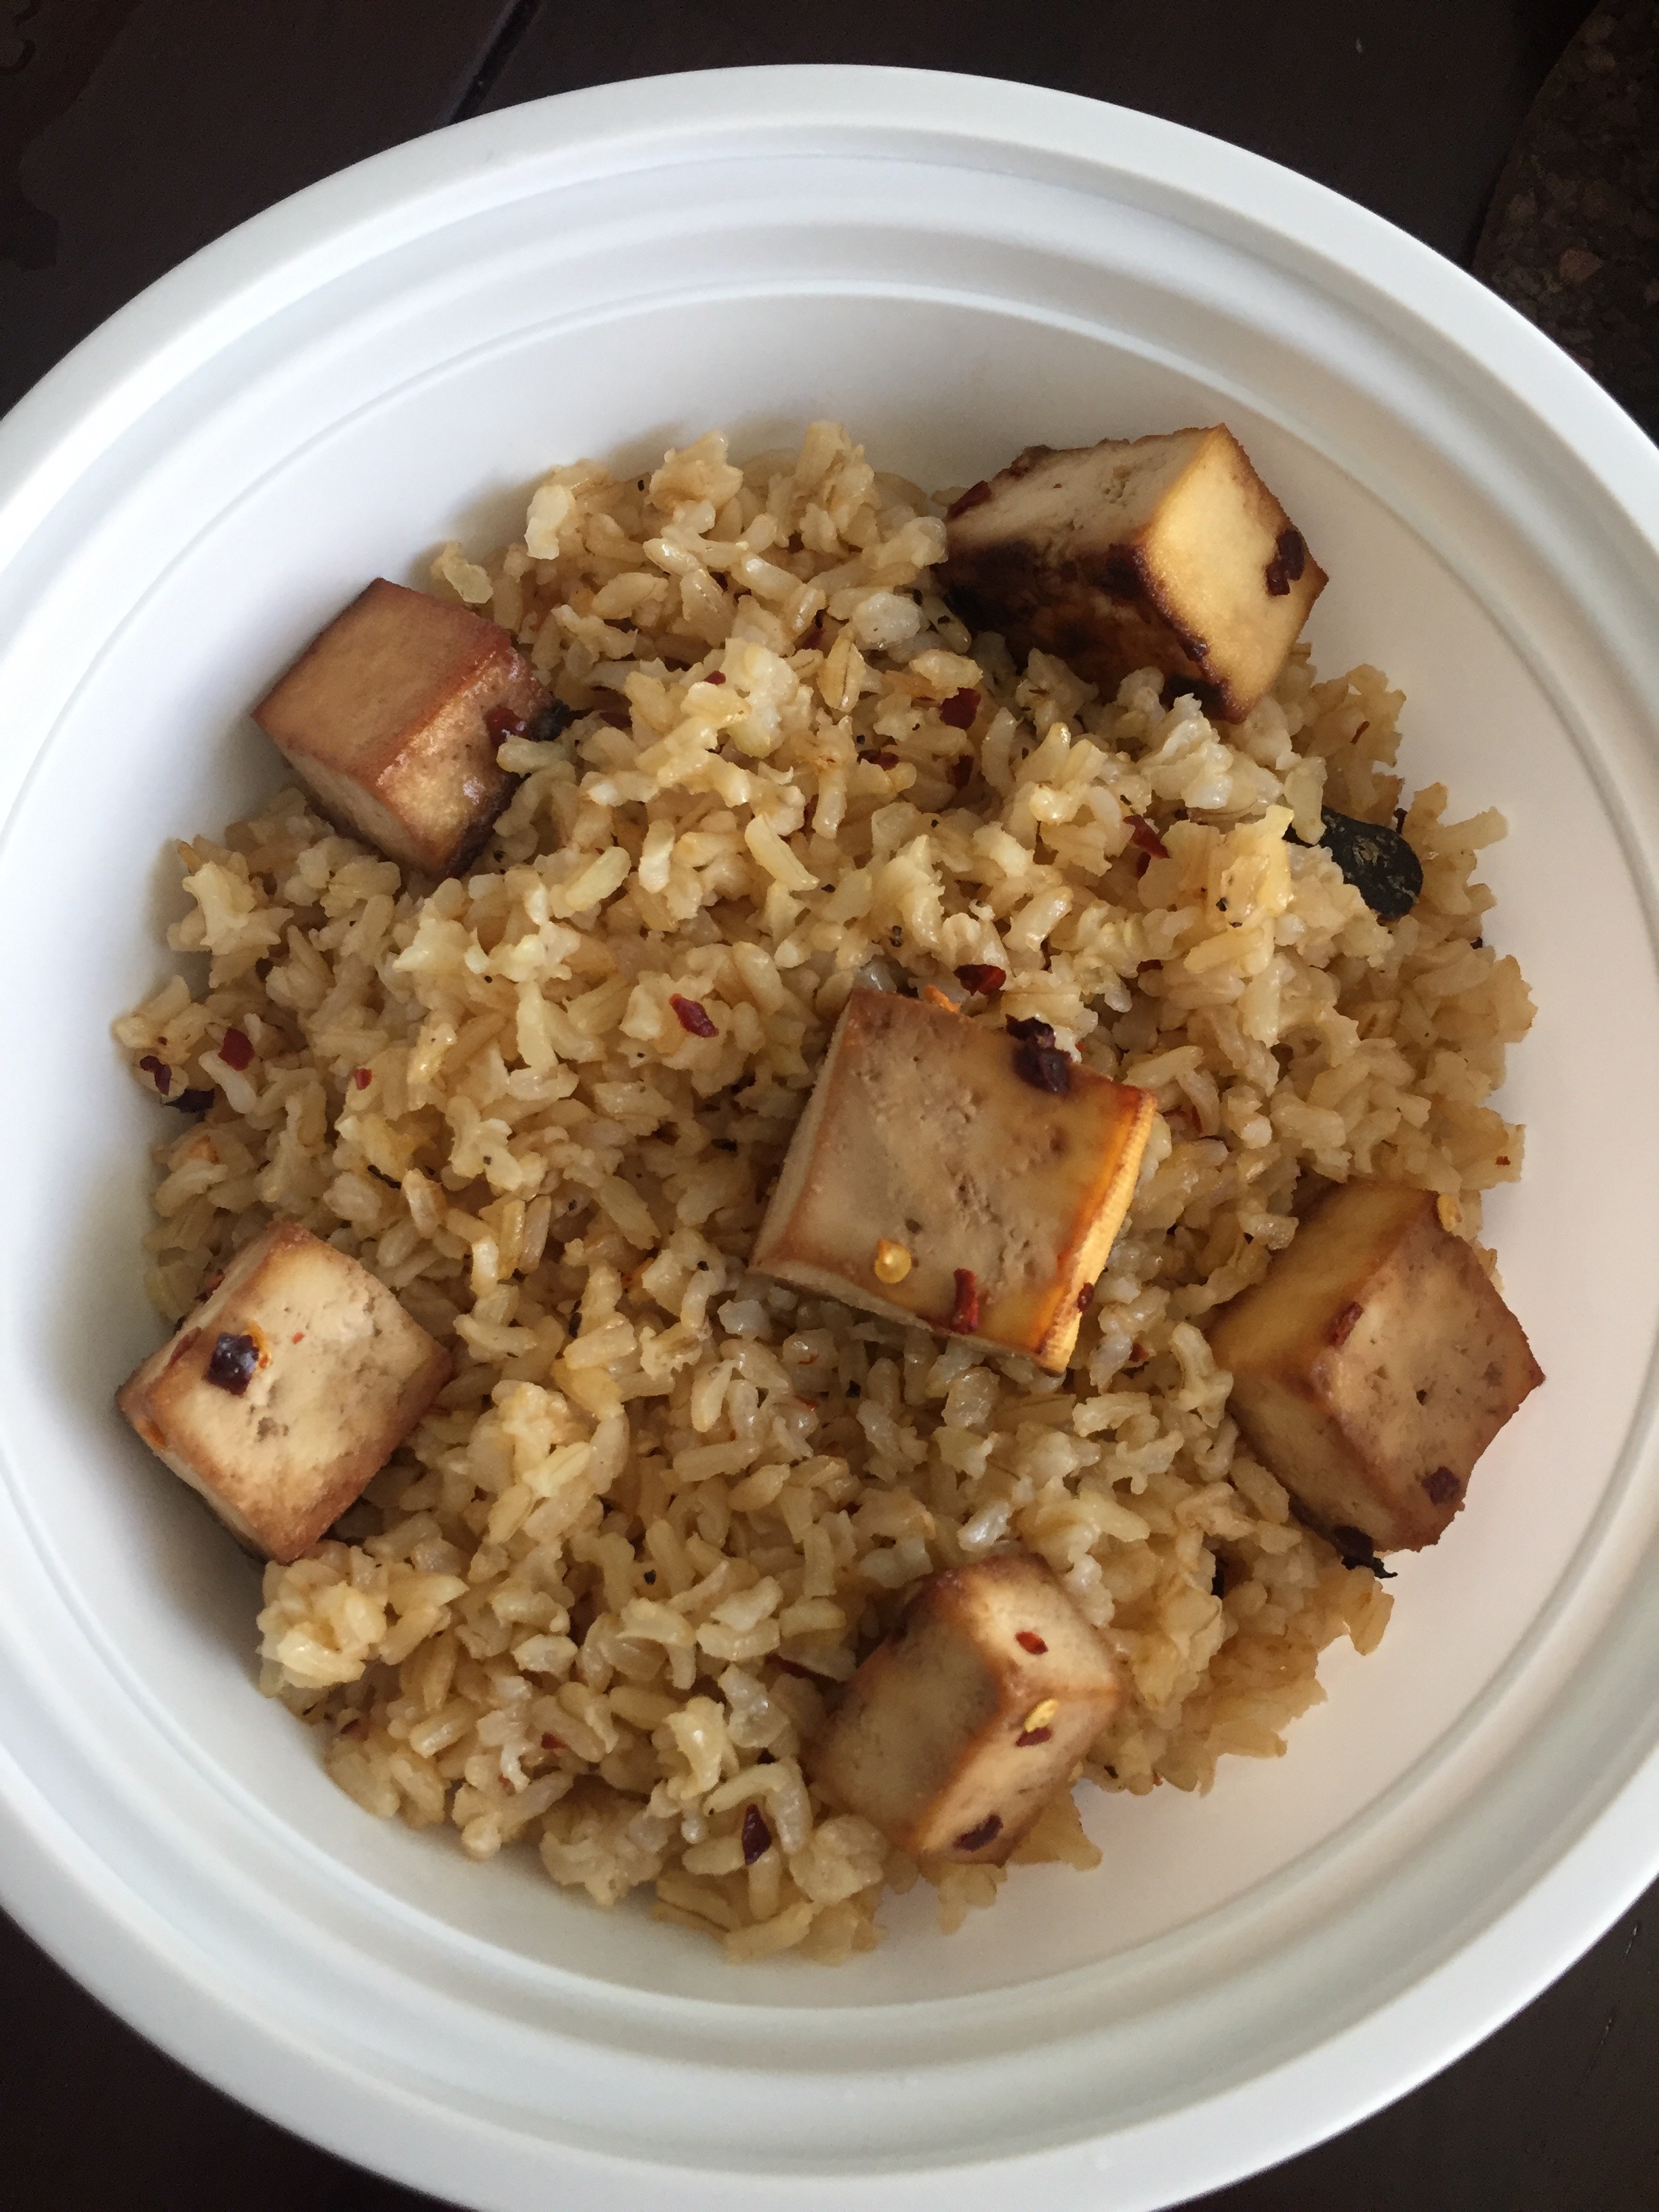
Tofu is so versatile that it can stop you in your tracks when trying to think of what to do with it. The possibilities are endless! I usually leave it raw & cube it up for a dish. Or grind it down in the food processor to make veggie patties. But I tried baking those cubes this time & I was pleasantly surprised! Here's my Asian spiced baked Tofu, you can go ahead and choose whatever seasonings you like.
Time: 1 hour
Ingredients:
1 pack extra firm Tofu
1/2 cup soy sauce
1 tablespoon honey
1.5 teaspoons crushed red pepper
1 teaspoon granulated garlic
Recipe:
Drain the Tofu well before transferring it to a small hand towel.
Cut it into cubes and place another hand towel over the cubes, press down to drain further. Use a can of vegetables or tomato sauce or something heavy to weigh it down. Leave the can on top of the towel for 10 mins to 30 mins (30 is better if you have the time!). This will help the moisture leave the Tofu.
Preheat oven to 400 F.
While the Tofu is drying, get a medium mixing bowl & add the other ingredients to it. Stir to combine, allowing the honey to distribute.
When the Tofu is dry, add a few cubes to the mixture & toss with your hands to coat every side of each cube. Using your hands helps the Tofu to remain in a cube & not break apart like it would with a fork or spoon.
Place the coated Tofu on a cookie sheet lined with parchment paper so it doesn't stick to the pan.
Repeat for all the remaining cubes, then bake for 25-30 mins.
When we visited London a few months ago, this amazing Indian restaurant had black dhal. The restaurant is called Dishoom and it is well worth the trip to London :)! Anyway black dal one of my hubby's favorite Indian dishes to date & I had to try making it. Very excited with how it came out! Check it out below.
Time: 1 hour
Ingredients:
1 cup black dhal
1/2 cup half & half or cream
3.5 cups water
1 handful methi leaves (fenugreek)
1 tablespoon chopped garlic
1/2 onion, diced
1 can tomato purée
1 tablespoon chopped ginger or ginger paste
1 teaspoon cumin seeds
1 teaspoon ground cumin
1.5 teaspoon ground coriander
1 teaspoon Garam masala
2 tablespoons vegetable oil
3-4 cloves freshly chopped garlic
salt to taste
2-3 wiri wiri peppers (can use regular chili peppers as well)
Recipe:
Soak the dal overnight in water.
In a large, deep pan, heat 1.5 tablespoons oil & cumin seeds. Wait about 30 seconds before adding in the diced onion. Add the tablespoon chopped garlic as well.
Add all of the spices & sauté for another 30 seconds.
Pour in the tomato purée & the peppers. Let the mixture come to a boil then add in the black dal & the methi leaves. Add in 3 cups of water. Add the cream or half & half. Add salt.
At this step you can cover it & let it simmer so the dal softens. This will most likely take 2-3 hours depending on how high you set the heat. I kept mine on medium low. Alternatively, you can put all of the ingredients in a pressure cooker for 18-20 minutes! Super quick way to make it.
Once the dal softens, test for salt, etc. Add spices as needed.
If you have a gas stove: In a metal (don't use plastic!) ladle, add 1/2 teaspoon oil, the freshly chopped garlic cloves, & another pinch of cumin seeds. Hold the bottom of the ladle over one of the burners & allow the garlic to brown.
Next, carefully move the ladle & submerge it into the dal. When you do this, have the lid for the pan handy so you can use it as a shield as the dal might splatter & it will be hot. This step isn't necessary but it adds a burst of flavor to the dish!